The Development of Project Alexa
19 May 2018
Introduction
Project Alexa was started as a personal summer project to understand the flow for a 3d game development pipeline. When creating a game, there are many steps and processes involved from importing art assets to managing game scripts. Through the experience from this project I was able to learn what it takes to make a fun and intuitive video game. The team consisted of Andrew Kurano and I, a total of two people. I was the lead programmer, and Andrew was the lead artist. Since we only had two people, we shared many other roles that were necessary and also gave each other feedback for our work.
Development of Version 1
Planning
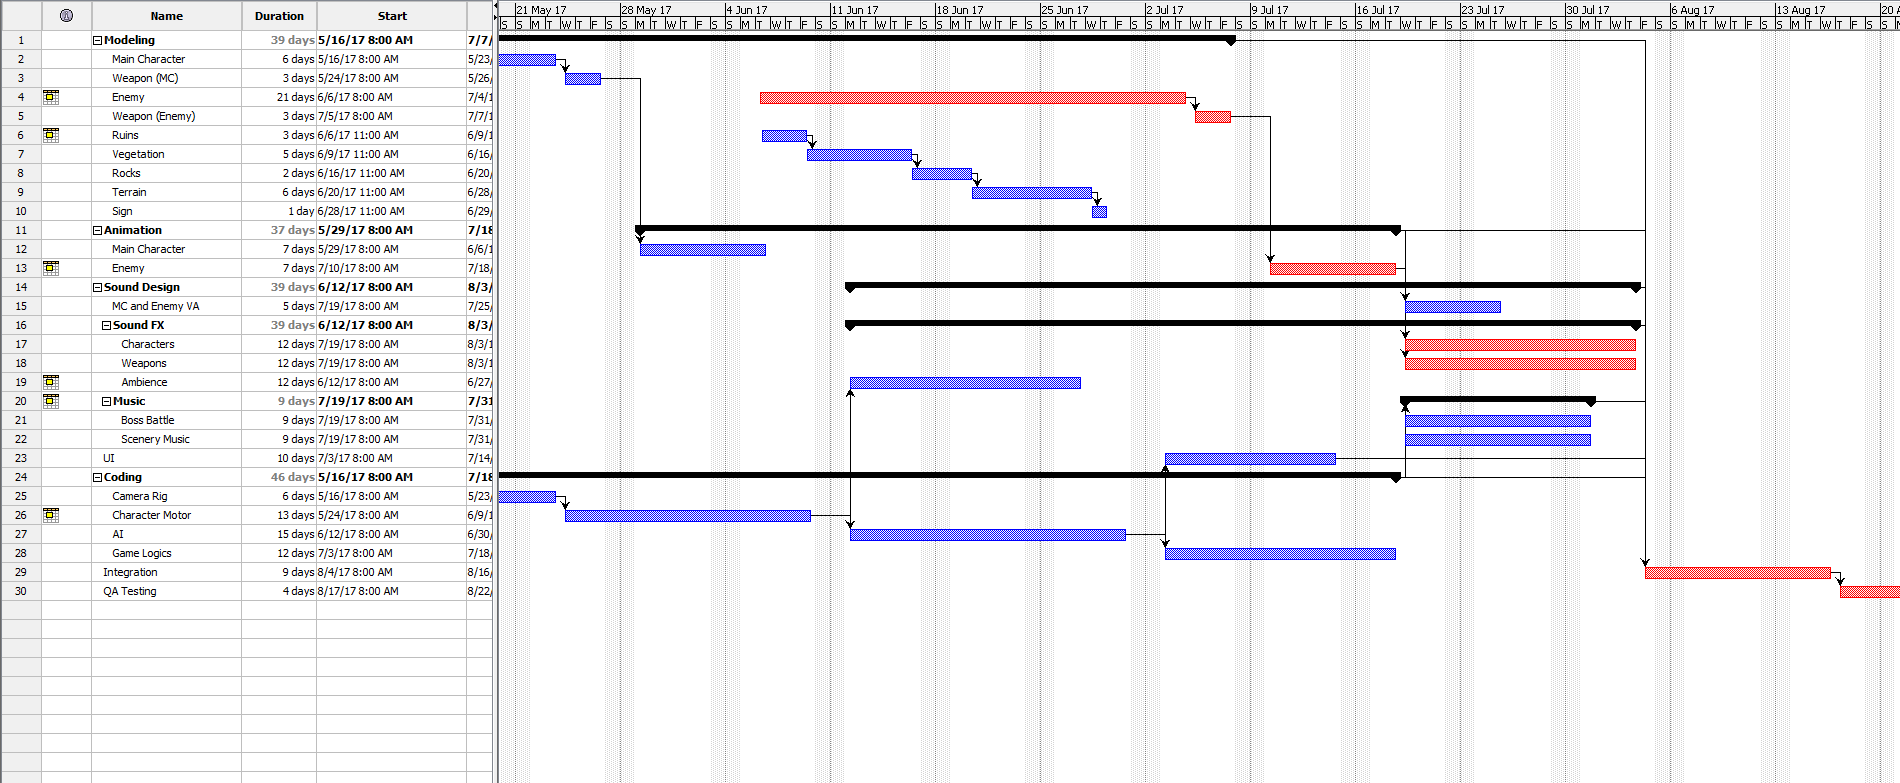
The first couple of days were spent on planning for the game. Since we had a limited time to work on the project (during summer break), we decided that we should split the development into different versions. We named the summer portion of the project version 1, so we can further improve on the project even after the summer has ended. During the planning phase, we discussed what can we finish to put into version 1 and placed deadlines for each milestone. The timeline for the project was created in a project management software which can be seen in the image below. Mainly speaking, modeling and animation tasks were done by Andrew and coding tasks were done by me.
During the first few weeks of development, steady progress was made, and we thought there was more than enough time to complete the project. However as the weeks flew by, we realized that our progress was slower than expected, and due dates were repeatingly being pushed back. I was working on the camera rig script (which controls the third person camera) when I was supposed to be working on the character motor script (which controls the player and its animations) according to the initial plan. Since this was our first major 3d Unity project, it may have been difficult for us to predict the amount of time needed for each task. Although the idea of the project being too ambitious crossed our minds, Andrew and I worked our butt off to complete this project before the summer ends.
Camera Rig System
I believe that in order to have a good camera system, the player always needs to have a direct line of site from the character, and the control needs to feel seamless and smooth so that it becomes second nature for the user. In order to accomplish this, I first started by writing the code to smoothly follow the player (the behavior can be seen above). Smooth follow is when the camera does not follow the exact movements of the player. Instead, the camera is always trying to catch up with the player. The speed for the camera to catch up depends on the distance between the current camera position and the ideal position (where the camera was supposed to be without smooth follow). The farther the distance, the faster the camera tries to catch up. As a result, small rapid movements of the player will not translate to small rapid movements of the camera. However during testing, this implementation worked well in walking and running speeds, but if the subject moves extremely fast, the camera would fall behind too much and loose site of the subject. I solved this problem by clamping the distance between the subject and camera with a max value.
After testing the camera rig so far in high speeds, I wanted some sort of visual cues on how fast the player was moving. I already knew that a wider field of view increase the sense of speed from a film making class I have taken before. I first increased the field of view of the camera but I did not feel the impact that I wanted. Next, I experimented with changing the field of view based on speed. The result (which can be seen in the image above) had a much better impact and I could tell the change of speed was happening.
Next, I worked on always maintaining a direct line of site of the character from the camera. I implemented this by casting a ray from the character to the camera. If there was anything between the camera and the character, the camera adjusted the distance from the character so it would appear in front of the blocking object. Next, I smoothed the change in distance value using the same function I wrote for smooth follow. When the line of site is lost, the camera will immediately dolly forward to maintain the view of the character. After the blocking object has been cleared, the camera will dolly back slowly to its original distance. The behaviour can be seen in the image above.
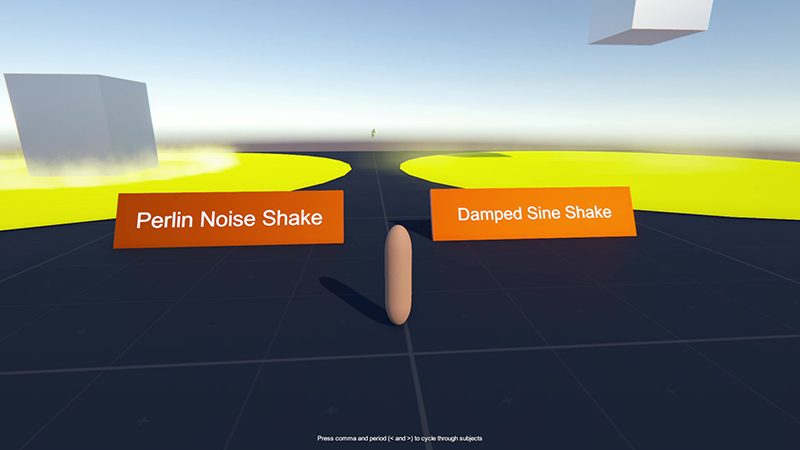

Lastly, I got a request from the artist to implement a camera shake to emphasize heavy impact. Camera shake works by applying a noise to the original position so it moves as if a shockwave had hit the camera. The noise needs to be a function of time so the camera will shake in a smooth manner. If the noise function is too random, the camera will appear to be teleporting randomly instead of properly shaking. Two functions that are well suited for camera shake are perlin noise and damped sine functions. These two different shake functions give a different sense of impact as seen in the images above. I implemented both functions and let the artist choose which function is better for the situation. In the final game, the camera shake was used when the enemy swinged the floor down into the ground which increased the feel for a much greater impact.
Character Motor and Combat System
The character movement system was built on top of the character controller provided by Unity. The responsibility for the character controller was to move a capsule in 3d space and to depenatrate the collider if the controller was inside of another collider. The character movement system was responsible for animating the character, and determining which way the character controller was supposed to move. The system first takes the user input (relative to the camera view direction) and determines which way the character should move. The direction vector is then passed into the animation system. The animation system asks the motor system for the environment that it is in (such as if the character is in air or is grounded), and determines the current state of the character. The animation system will choose a animation depending on the current state and return the root movement vector of the animation to the motor system. The motor system will then move the character in the direction and also apply basic physics to the motor (such as gravity and inertia). The calculated result is finally passed into the character controller so the collider can move in the scene.
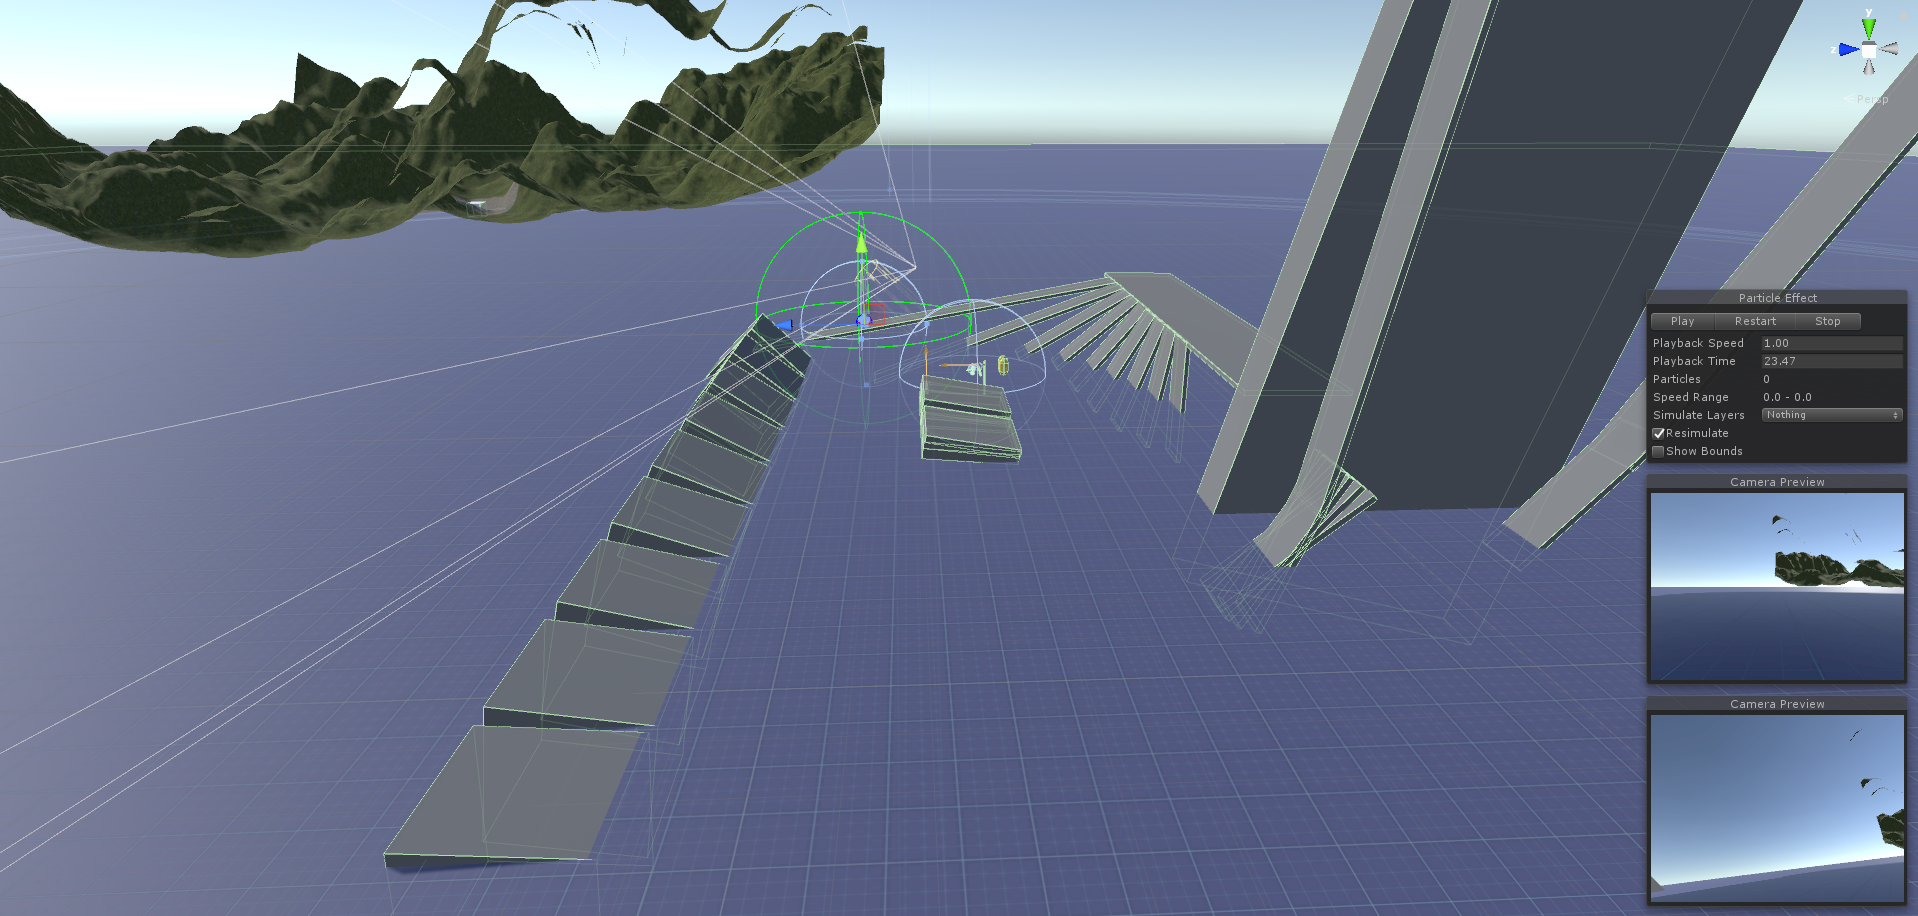
The testing scene was created for the character motor system because it was responsible for many things. The testing scene mainly tested for various terrain conditions, and the attack system. The image above shows a screen shot of the testing scene. The slopes on the left and right side is for testing moving on various angles. There were many slopes to test the system because I had a difficult time getting the transition between a walkable angle and a non-walkable angle. Many iteration of the system was tested and tweaked for the best character movement. In addition to the ramps, a sample terrain can be seen in the top left of the image. The terrain was also added later on which also tested for slopes. However, the terrain was different from the ramps because, the terrain had constantly changing slope unlike the constant angle on the ramp. This lead to many more bugs which needed to be fixed. In the center of the scene, there were game objects for testing the combat system.
The combat system was tested by having a giant sword swinging on a post. Although it was a simple setup, it fulfilled its purpose by swinging the sword in certain directions. The blocking system can only block either the right or the left. The player needs to determine which way to block depending on how the enemy is attacking. The image above shows the large sword swinging from the left to right. The first block is a left block which successfully negates all of the damage from the sword. However, when blocking the right side, she dies from the sword because the player blocked in the wrong direction.
I have built the combat system and the motor system to be as flexible as possible. As a result, the system heavily relies on events to be able to communicate with other classes. Events occurred on times such as, when the player gets damaged, or when the player jumps. The audio effect system relied on the events from the character to trigger the audio. Additionally, the on hit effect system also relied on events as well, which can be seen in the image above.
Enemy AI System
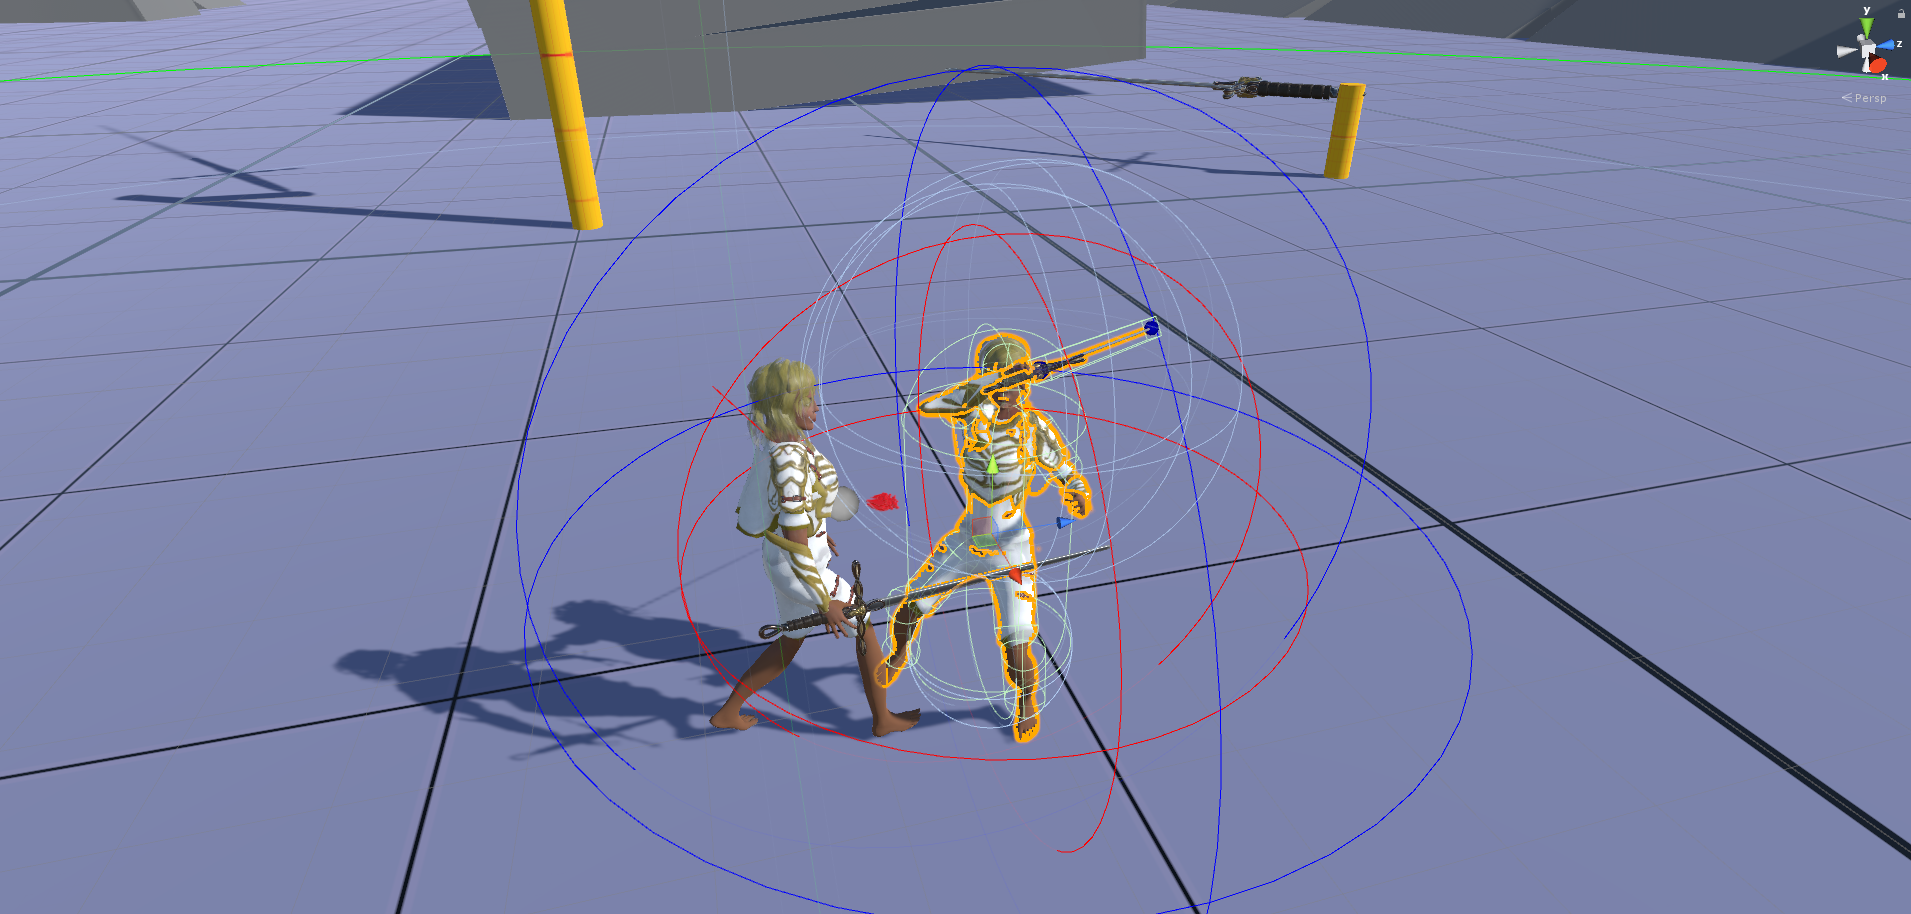
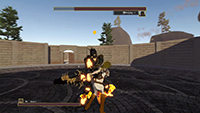
Due to the limited time that we had, the AI system was simplified for the project to be finished. The simple AI system walks towards the player if the distance between the two drops below a certain threshold. As soon as the player is in attack distance, the enemy will start attacking the player. The debug view above shows the attack range of the enemy disguised as Alexa.
Summary of Version 1
I was able to get an idea on what it is like to develop a 3d video game. I realized the importance of planning right in the beginning and planning in detail to prevent unnecessary work in the future. Although it might have been easier and faster to use third party scripts and assets, I think it was important for us to work from scratch to learn from the basics. Additionally, I was able to learn about project organization for larger scale projects. I hope to be able to continue working on and improving on this project.
Development of Version 2
The version 2 improves on the animation of the main character. Additionally, few features were added to make the gameplay experience smoother such as camera lock on. Although I have not worked on the development of version 2, all of the main systems in version 1 which shows the flexibility of the system.
Go to project overview